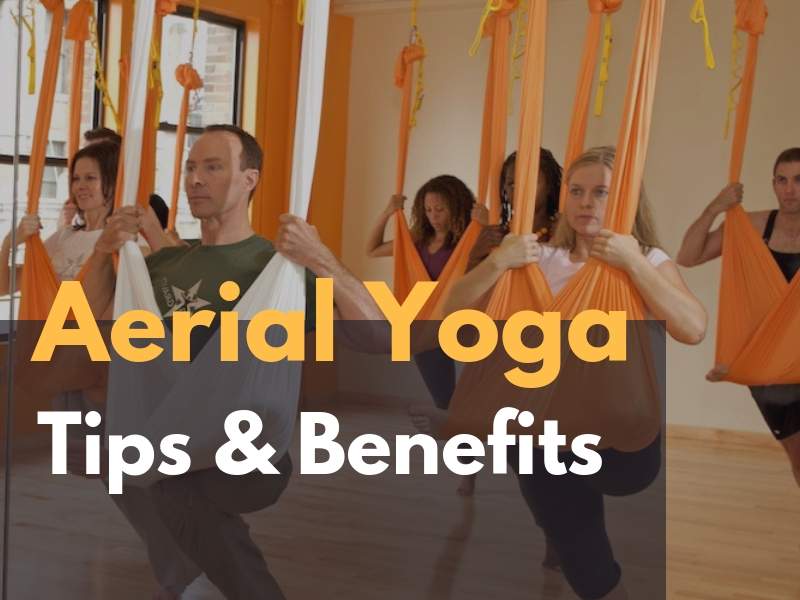
To stay fit, you have to be doing the total body workout. Consistency is the biggest key to reap the fruits of whatever routine that you’re doing for your physical fitness. Aerial Yoga or Anti-Gravity Yoga as it is sometimes called, is such a routine that’ll give you an all around fitness experience.
Aerial Yoga is generally a tradition Yoga Asanas, acrobatics, and dance moves done suspended in the air, with the help of a hammock. The history of Aerial Yoga is not very old, as it is a fairly new practice, only little more than a decade in age. It was conceived in New York by fitness experts to make sessions more innovative and fruitful. There are a variety of poses that you can do, some simpler, some more complex.
Aerial Yoga can be practiced with the aid of a hammock, and a bit of imagination. If you’re fairly new to this, practicing with an experienced instructor is ideal. You can also install the yoga swing in your indoors, but make sure that you take care of all the safety issues first. if you’re just starting out, start with the simple and then gradually move to the more complex.
Here are some tips for beginners –
- Make sure the clothing is appropriate for easy maneuvering and comfort. You should not feel stuck in your attire to give focus to the Yoga.
- It helps if you don’t drink or smoke before aerial yoga, or at all.
- Keep your food light and take some time before you start after eating. Drinks lots of water.
- remove all accessories like jewelry and bracelets etc. before you begin to avoid injuries.
- Do not do it if you have had a surgery recently, are pregnant, or have any serious health complication. Consult an experienced instructor before starting to figure out what you should do.
Let’s now start with the Yoga poses –
Aerial Lunges –
Aerial lunges are the simpler and useful positions for the beginners. Here’s what you need to do –
- make sure that the hammock is down to your pubic bone level.
- Separate the two side of the hammock with your hand and place your right leg in between. bend your leg, while keeping the left leg strongly rooted in the ground, toes pointing forward.
- Placing your hand on your hips, inhale, and lunge forward with your right leg, keeping your left leg rooted still. This will flex your quads and hip flexors.
- Press your right leg strongly on the hammock while exhaling, and move back to your initial position.
- Do this a three or four times and then switch your leg.
With this exercise you can increase your stretching and leg muscle strength. It is also good for building stamina and stability.
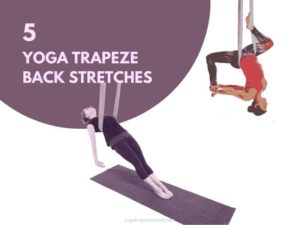
Layback in a the cross position –
It is also a very simple position to try in the hammock is very useful for you.
- First put both your arms through the hammock and make sure it’s around your waist or a little higher.
- Lay your head back, and stretch your hands fully in their respective directions. keep the feet firmly on the ground.
- maintain the position for a while.
- Move back up, and with the help of your hands, regain your position.
Doing this stretches and opens up your chest, shoulders, lungs, and abdomen. This stimulates the nervous system and releases stress as well, among other things.
This one is a little more complicated than the previous ones so you might want to do it with an instructor at first. If you feel confident enough with yourself though, here’s what you need to do –
- Stand in front of the hammock with the base of the hammock on same level as your glutes.
- Using hammock as the straps of your backpack, lower your hands to the hip level, resting your wrists against your hips.
- Stand on your toes, and step your feet wide.
- Place your sacrum against the U of the hammock and lean backwards, and using your abdominal muscles pull your legs up. Use your hands to prevent the hammock from sliding up the back and swinging. This might be tricky if you’re just beginning.
- Slide your hands farther up and now straighten your knees, bringing your legs apart to help with the balance.
- Keep the fabric adjusted so that it doesn’t slip under your sacrum. Stay there for four-five deep breaths, then come back and start again.
Doing this not only helps your posture, it also helps improve your stretching and relieve stress. it is very therapeutic and also helps with the stretching of hip flexor and sciatica.
Benefits of Performing Aerial Yoga Poses-
- Flexibility booster- Doing Aerial yoga definitely boosts your flexibility. Suspension in the air releases tension on the bones and muscles, increasing flexibility.
- Workout of the whole body – Aerial Yoga involves the whole body and is a workout that benefits your entire physique. Muscles are toned and redefined and joints are regenerated and strengthened.
- Balance Builder– It might be done in air, but the effort that is put in maintaining those complex posture affects day to day balance as well. Aerial Yoga positively helps strengthen the grip of your legs.
- Good for your back bugs– If you suffer from back pain, aerial yoga moves for spine might just prove to be a blessing in disguise for you. The freedom it allows your spine, eases stress in spinal cord, and strengths it and affects your back pain positively.
- Increases Strength – Aerial Yoga is a lot of fun, but at the same time it seriously pushes your whole body and strengthens it. The overall strength is increased considerably, if you’re doing aerial yoga regularly.
- Improves memory – Aerial Yoga helps build up strong neural connection, strengthening your memory.
- Good for your digestions – Aerial yoga helps with digestive issues like indigestion and constipation and keeps your tummy in a great shape, in turn keeping you in a great mood. Know how aerial yoga detoxify your body
There are plenty of different advanced and more complex poses you can do, that you’ll discover once you begin. Aerial Yoga is great for your health and it is worth putting your time into. We wish you luck with your adventure